From Negative to Print: A Complete Guide to Analog Developing
Dillon Jevon, owner of Brunswick Darkroom, takes one black and white negative all the way to a finished print by hand: chemistry, contact sheet, test prints and enlargement.
“You get to spend time with your memories in a way that isn’t possible with any other medium.”
Behind the door
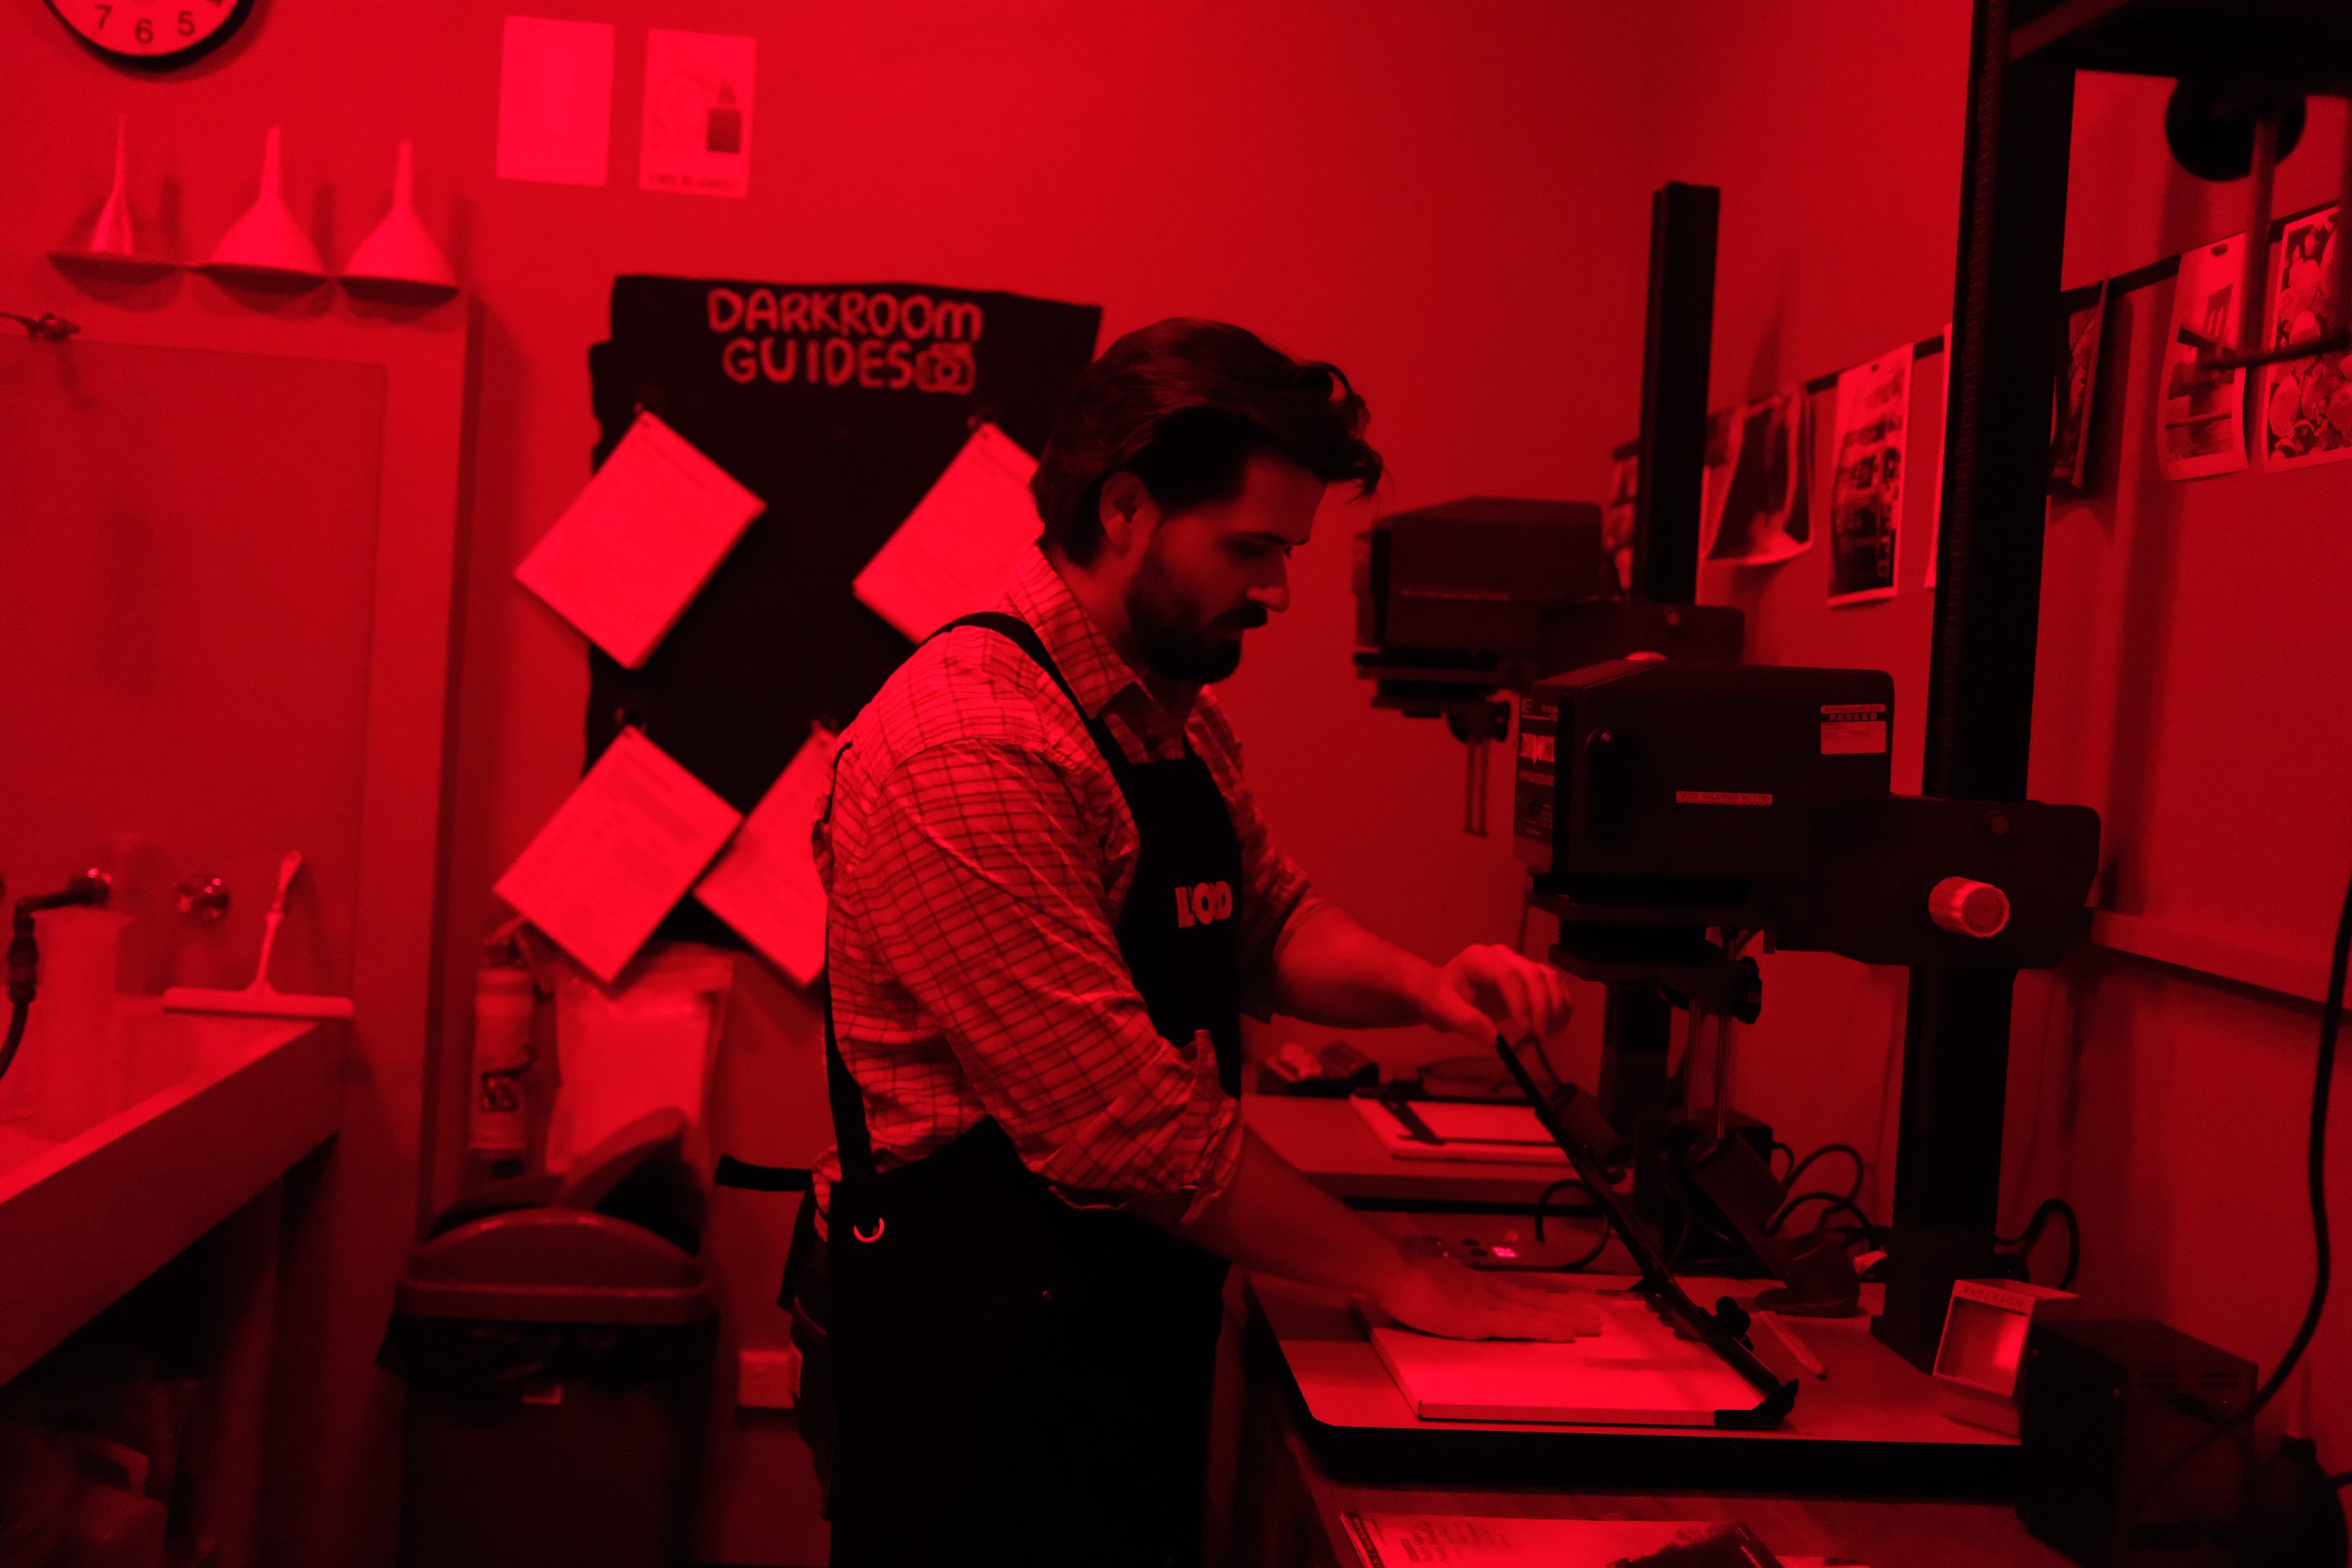
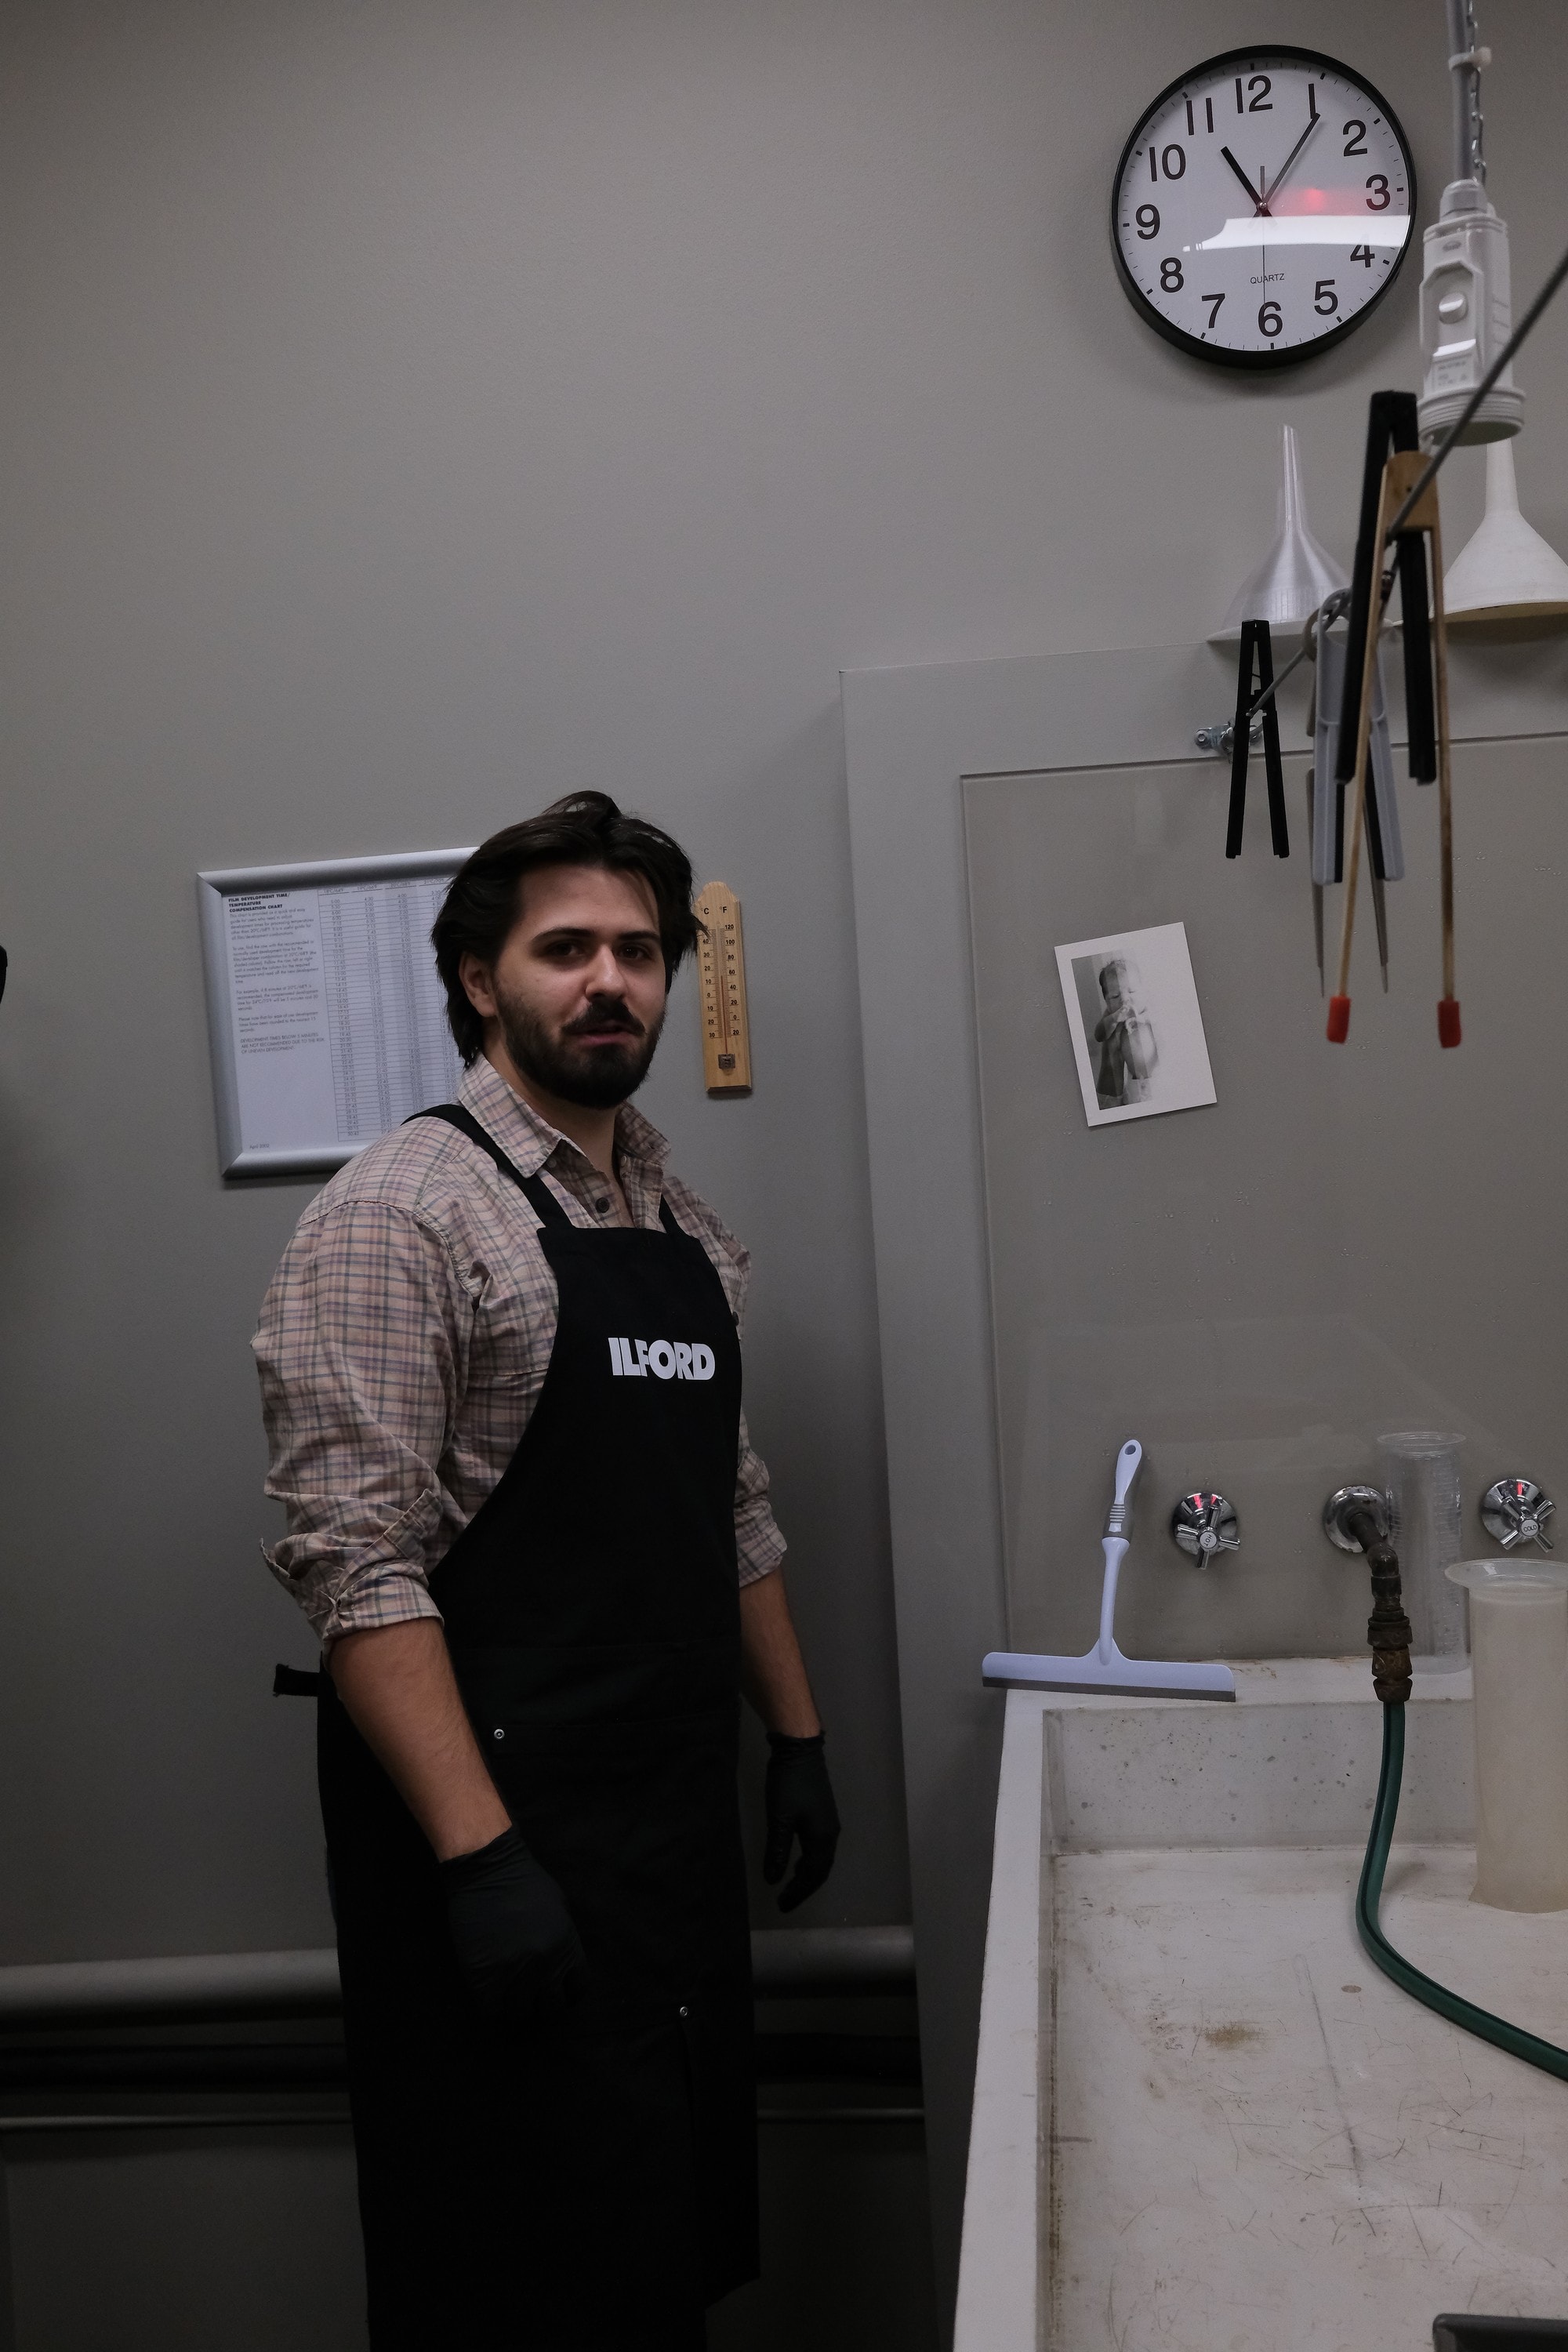
Dillon Jevon owns Brunswick Darkroom, a community darkroom in Brunswick where people hire the space, get their film developed and come to learn analog photography by hand. For this film he took me behind the darkroom door to do one thing from start to finish: take a strip of black and white negatives, make a contact sheet, and turn one frame into a finished print.
The roll he chose matters. Dillon recently became a father, and he documented the whole first week of his baby’s life on film. What follows is the process he walked me through to print one of those pictures.
Step one: the chemistry
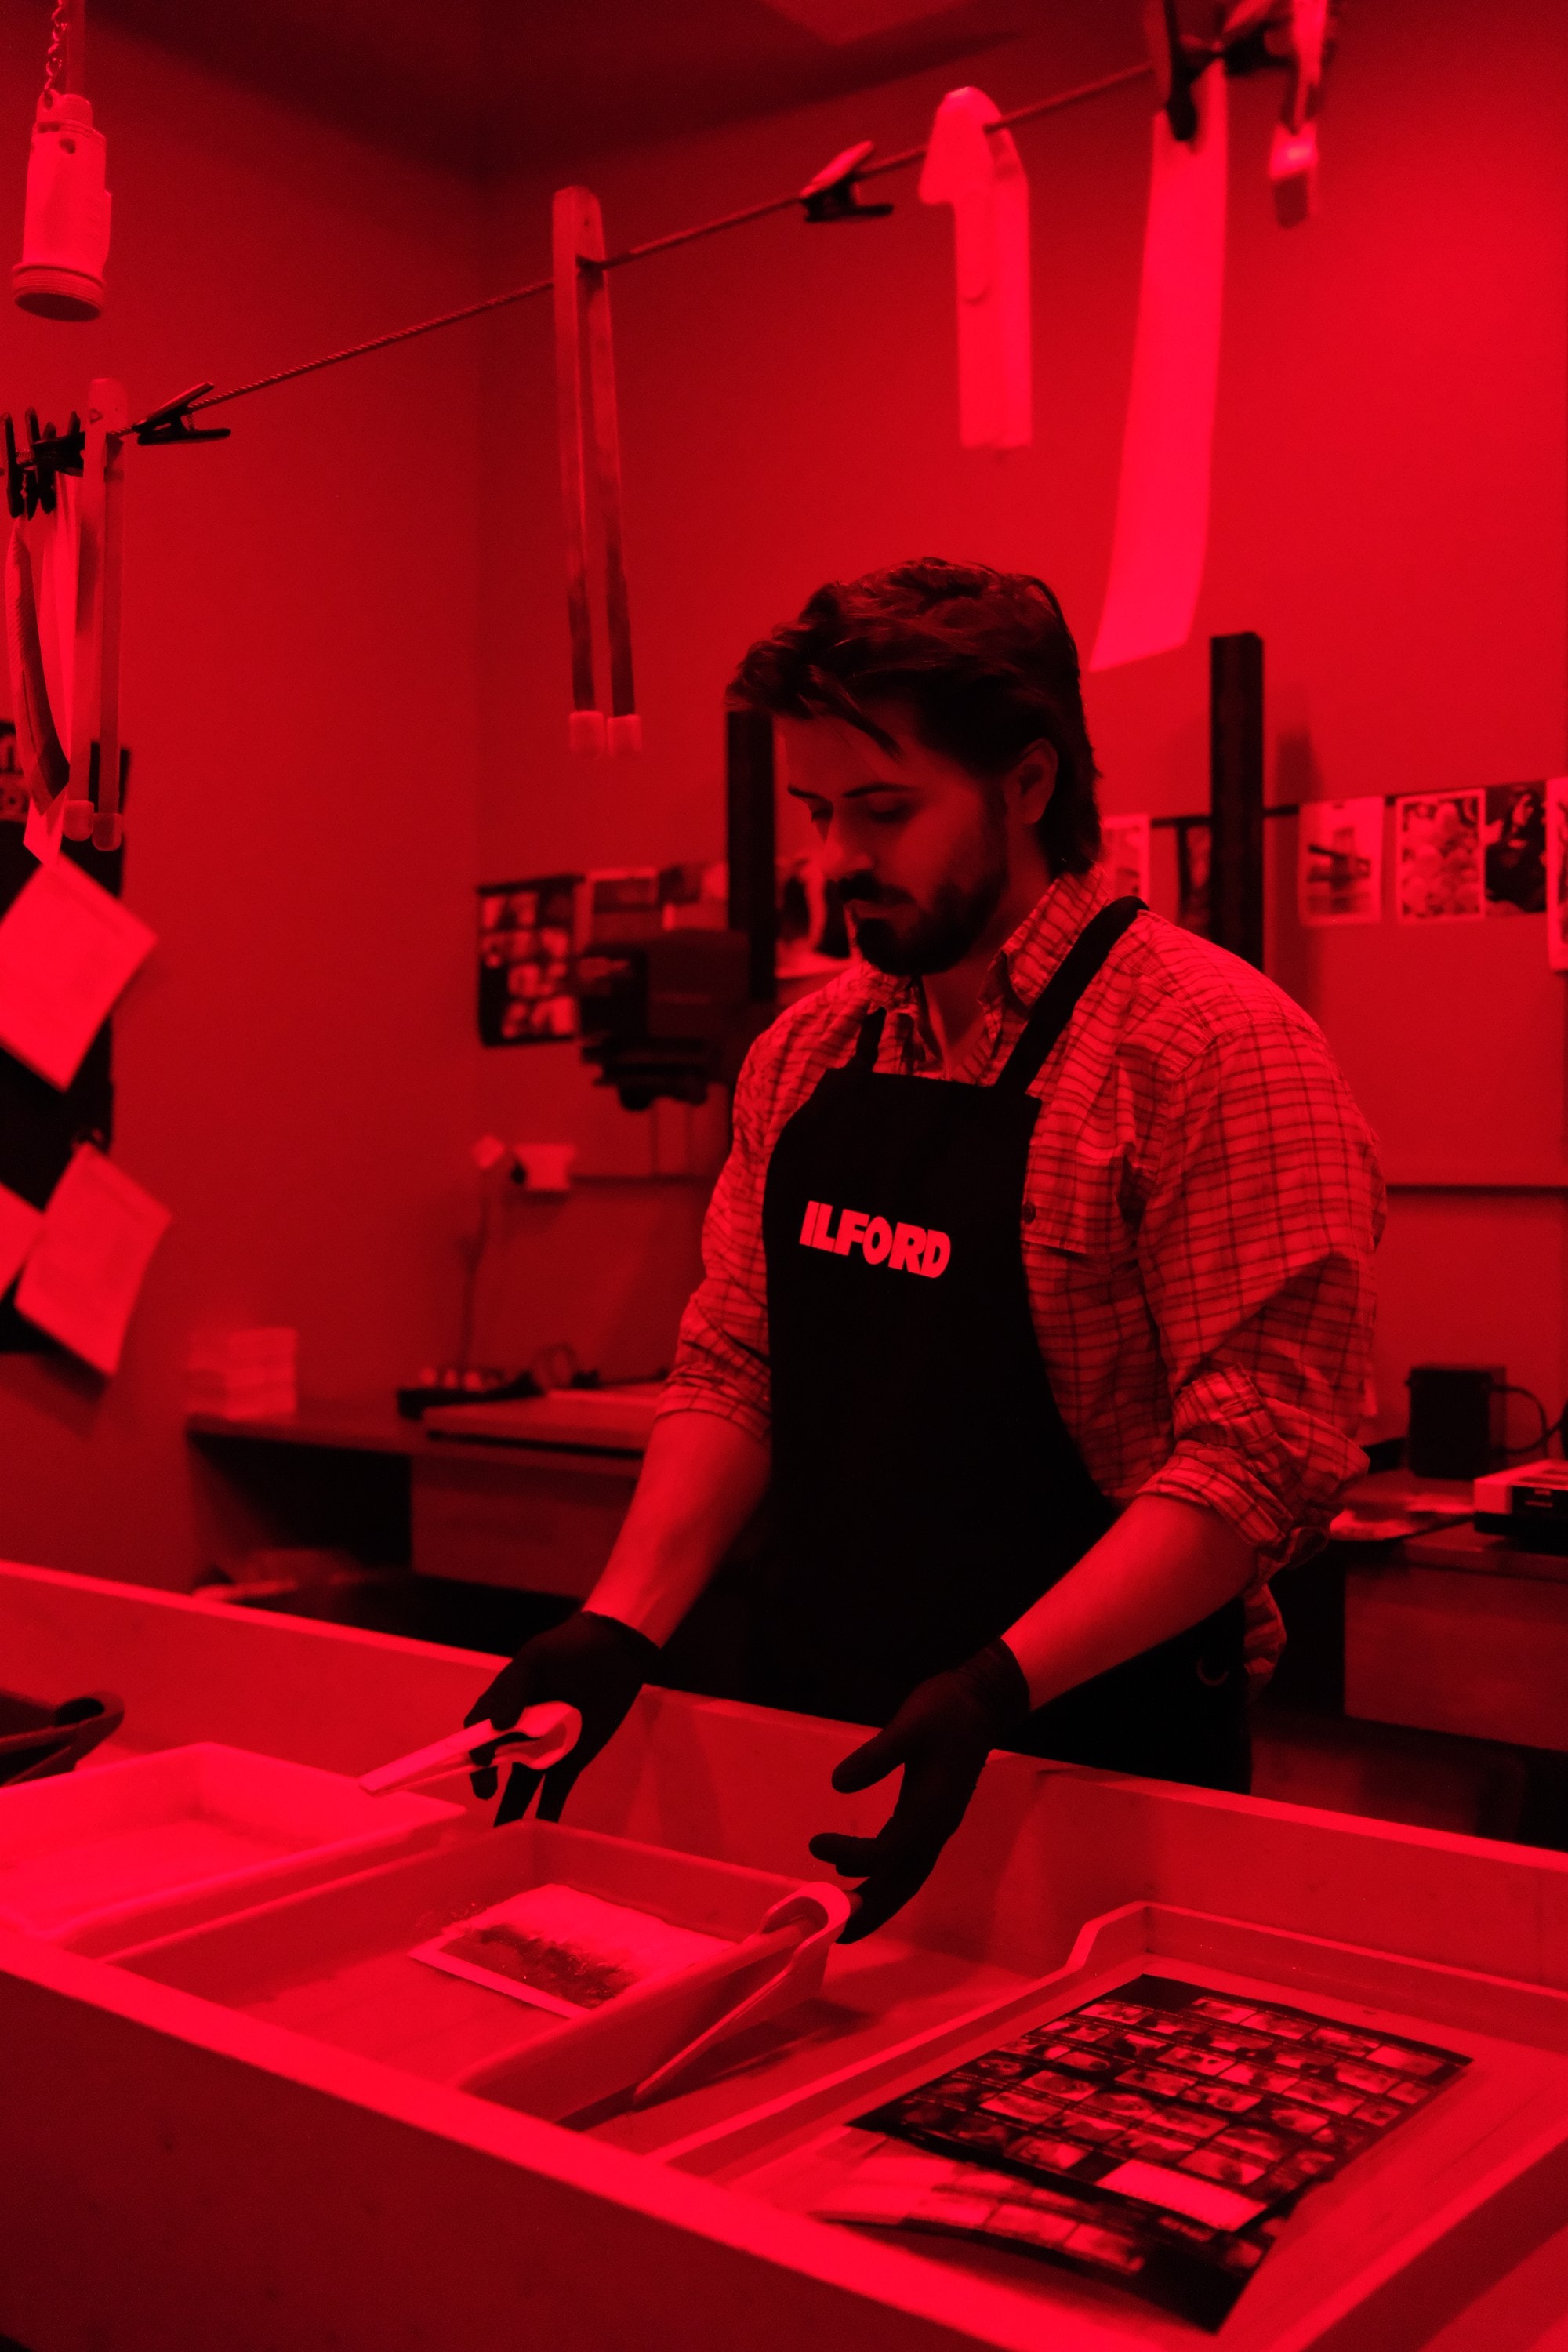
Before anything goes near paper, the chemicals need to be mixed and ready. On the day we filmed he needed fresh developer and stop solution. There are three steps, and he explained each one simply.
Develop. The developer acts on all the silver halide that has been exposed to light. This is where the image appears.
Stop. The stop bath stops development by changing the pH.
Fix. The fixer makes the image permanent by removing any silver halide that hasn’t been exposed to light.
Step two: the archive
Most photos, Dillon pointed out, live on a phone or a computer. They might not exist in physical space at all. His do. He showed me an archive of every image he has ever taken, organised by date.
“Not only are those images the one-of-one physical record of what happened on that day,” he said, “they’re the starting point for everything we do in the darkroom.”
Step three: the contact sheet
Negatives can be a little abstract to read. A contact sheet prints them straight onto paper at a 1:1 ratio. Nothing is enlarged yet. It is simply a way to see the negatives as positives and choose the one worth printing.
There is no light meter in the darkroom to tell you the exposure. “We work out our exposure through trial and error,” Dillon said, and the practical way to do that is a test print.
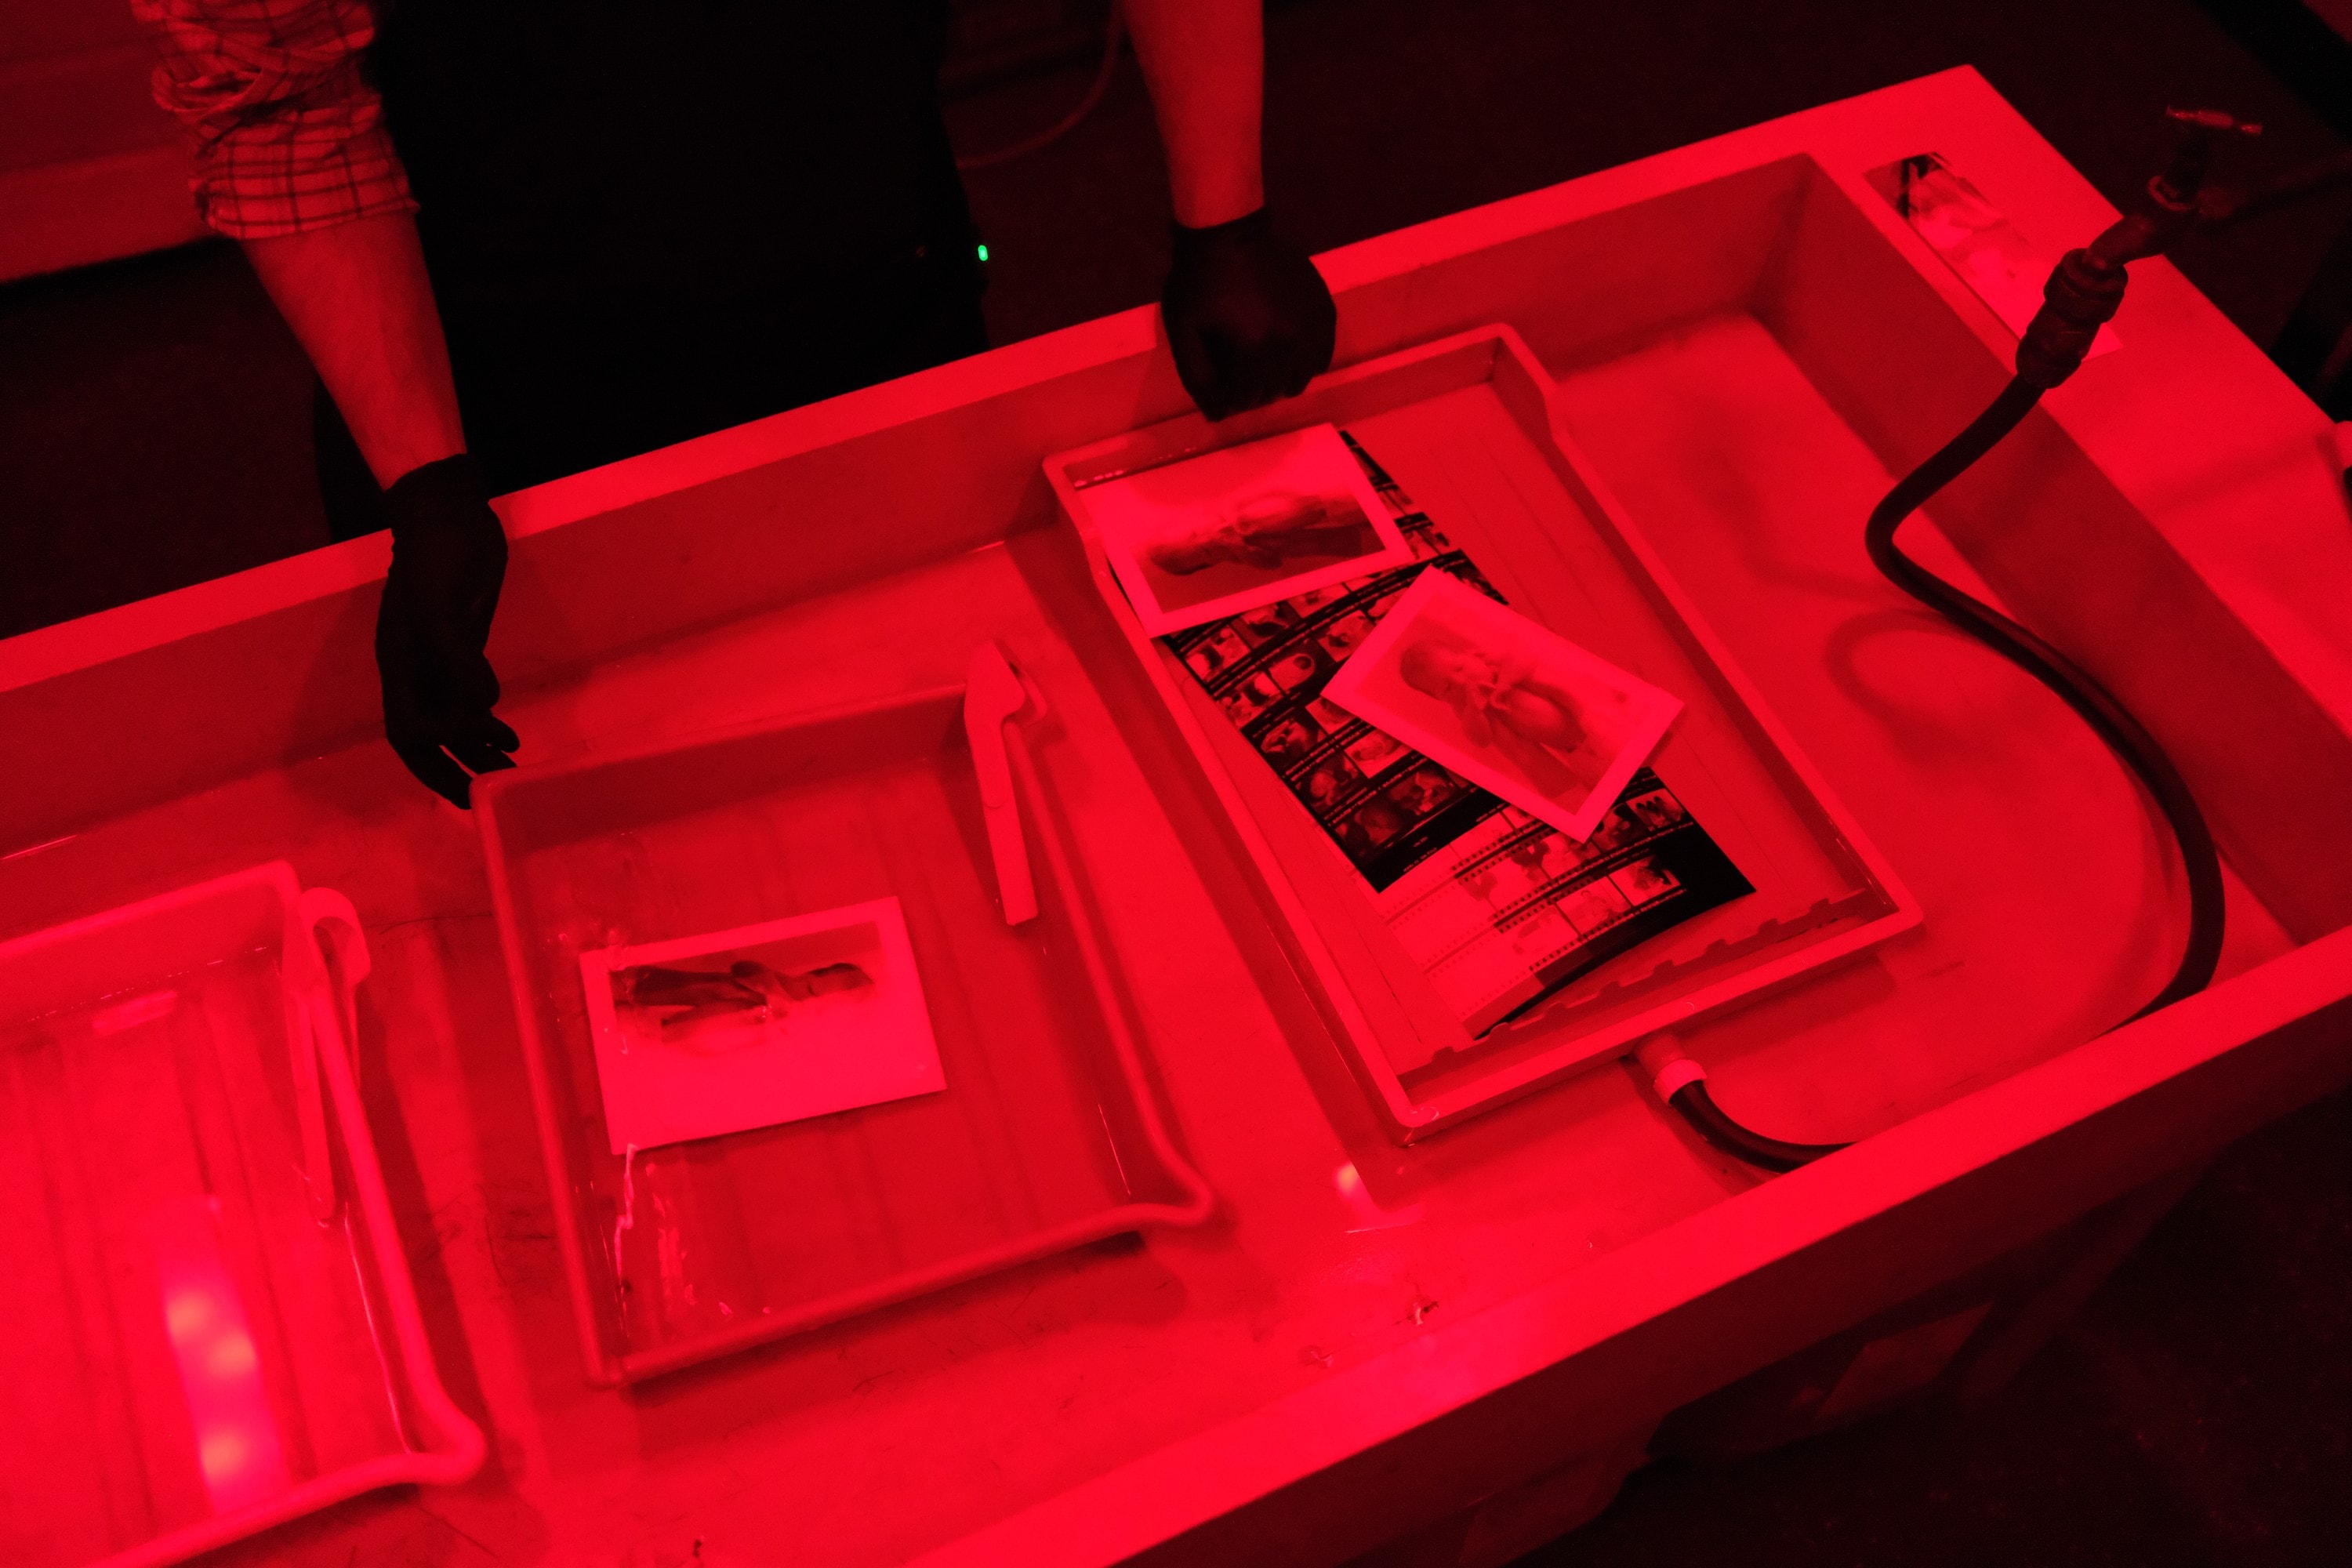
A test print is several exposures on one piece of paper. He covers the paper and uncovers it in stages, adding two seconds each time. When it’s done, one end of the sheet has had 12 seconds of light and the other end only two.
Then it goes into the developer for one minute, agitated every 15 seconds, and you watch the image come up. Dillon watches the clock: in at the six, out at the six. “Consistency is key here,” he said, “because I want the only variable that changes to be the exposure time, not anything I do in development.”
He usually fixes for a minute, but a test print can come out early.
“Consistency is key here, because I want the only variable that changes to be the exposure time.”
With the darkroom to ourselves, which he said is rare, he switched on the white light so we could look at the strip properly. From left to right it ran 2, 4, 6, 8, 10 and 12 seconds. The question is where the density of the image starts to make sense to you. He settled on a full contact sheet at 10 seconds, where every frame should be reasonably exposed.
For the first time he could see all of the images clearly, and he took his time deciding what he wanted to make.
Step four: the enlargement
Once he’d chosen a frame from the contact sheet, he went back to the negatives and pulled out that strip.
“This is like the DNA,” he said, “and all the prints you make from it are like the RNA. You can make a million prints, but you’ll only ever have one original negative.” Prints take time to make, so you don’t want to mess the negative up.
He sets the borders of the easel, where the paper will sit, so the sides are equal. Then the enlarger goes on, projecting the image onto the workspace, and he frames it.
Next is focus. With a focus finder he goes in and out of focus several times, then leaves it where the image is sharpest.
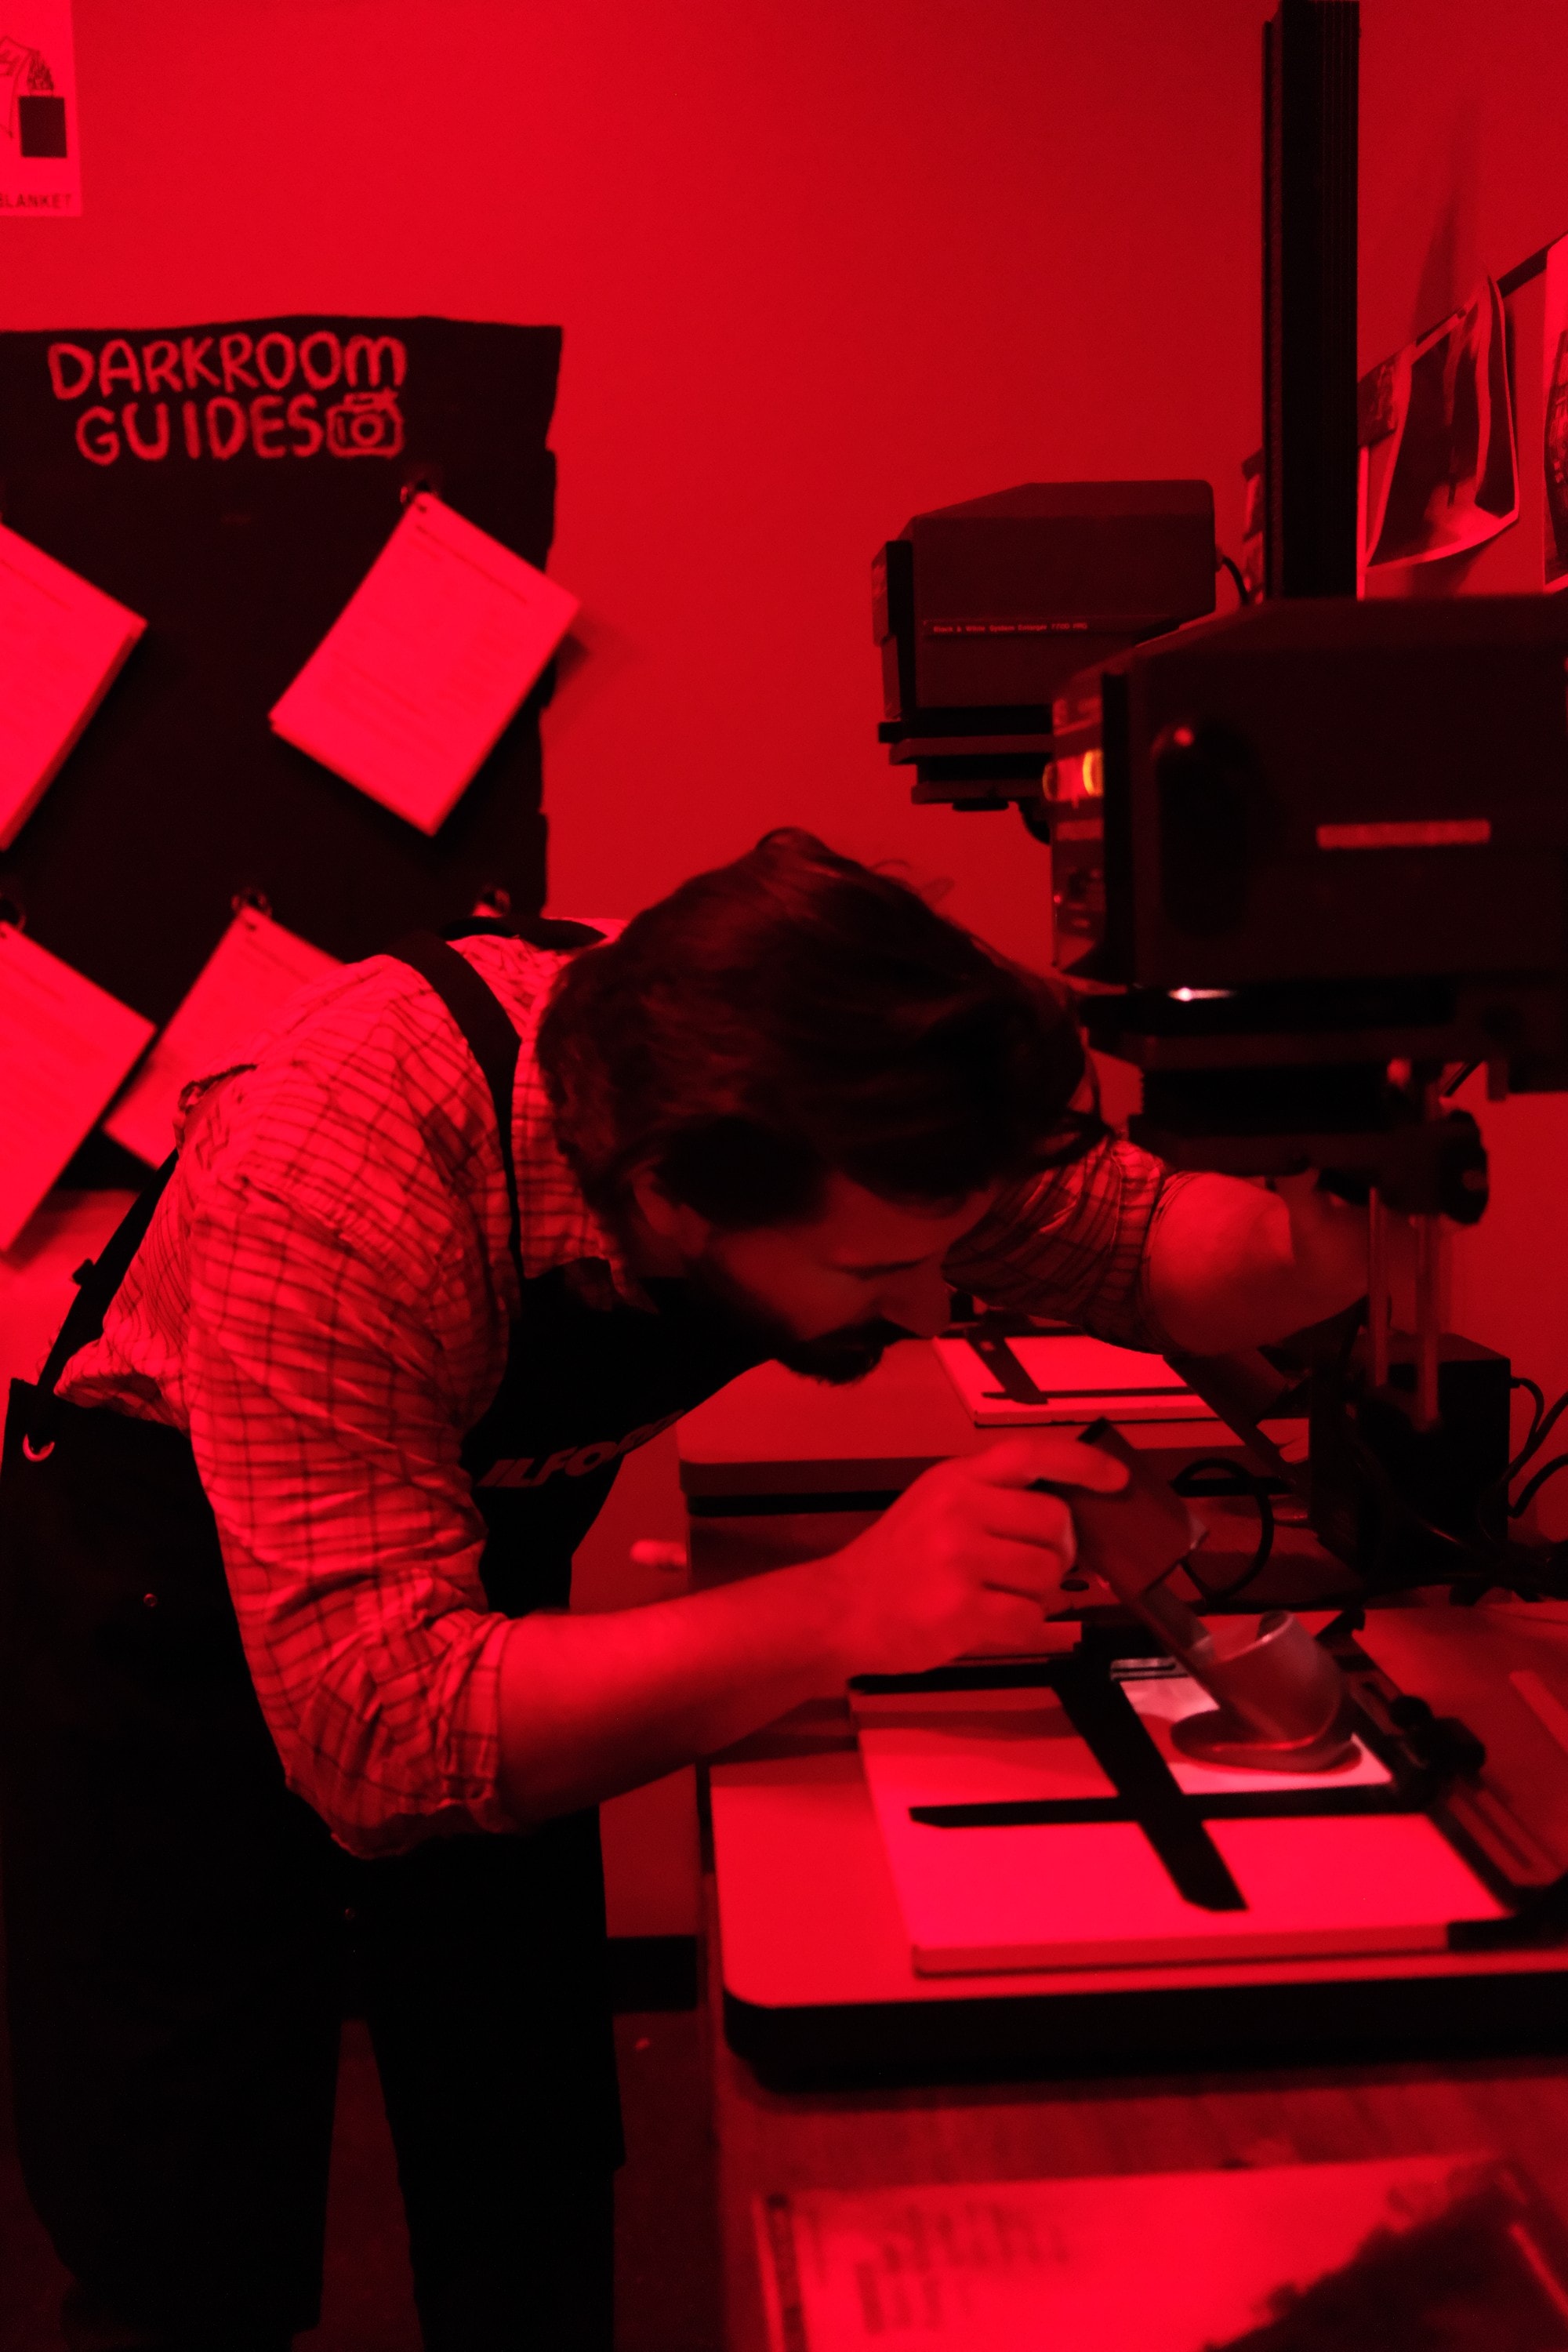
Then, the same as before, another test print. At two seconds there was almost nothing. At four, some exposure, but very light. Six was nice, with highlights that were still very bright. By eight, the midpoint had shifted a bit darker than he liked, and by 10, 12 and 14 seconds the whole image was getting quite dark. The answer was somewhere between six and eight. He split the difference and went with seven.
Sitting with the print
This is the part of the process that has nothing to do with chemistry. Every time you develop a print, Dillon said, you sit there for a minute or more and just look at it. You might develop tens of prints. If you’re really dedicated, hundreds.
“You kind of sit with the memory,” he said, “and have time to internalise things.”
Analog, he said, is a good way to slow down and really consider what has happened. This roll documents a really important week in his life. There might be things you forget if you don’t take photographs, he said, but taking them in an analog way forces you to spend time with those memories and recreate them on paper.
The first full print came out a little light. Not as dark as he’d anticipated. He didn’t mind. “We often have little mistakes every time we print, but we can just keep printing,” he said. “The only thing it takes from us is time and paper.”
“You never really reach perfection in your prints. You only reach a point where you can’t keep going anymore.”
Sometimes there isn’t much time, or the paper costs too much, and you have to stop. That point, he said, is where a print becomes finished.
Step five: adding contrast
When a print is too light, there are two fixes. The obvious one is a longer exposure. The one Dillon thinks might actually be better is to deepen the shadows on their own and leave the highlights alone.
In practice, that means two exposures on one sheet of paper. He changes the contrast filter from a three to a five. On the higher grade, the shadows expose before the highlights, so the hope is little to no extra density in the highlights and a strong punch in the shadows.
He ran a test on the grade five filter and found that around six seconds added depth to the shadows without touching the highlights much. So the final print was a six-second exposure on grade five, then the filter back to where it started for the base exposure of seven seconds.
The finished print
What came out of the last tray was, in his words, a well-exposed image of his baby girl, and he was pretty happy with it.
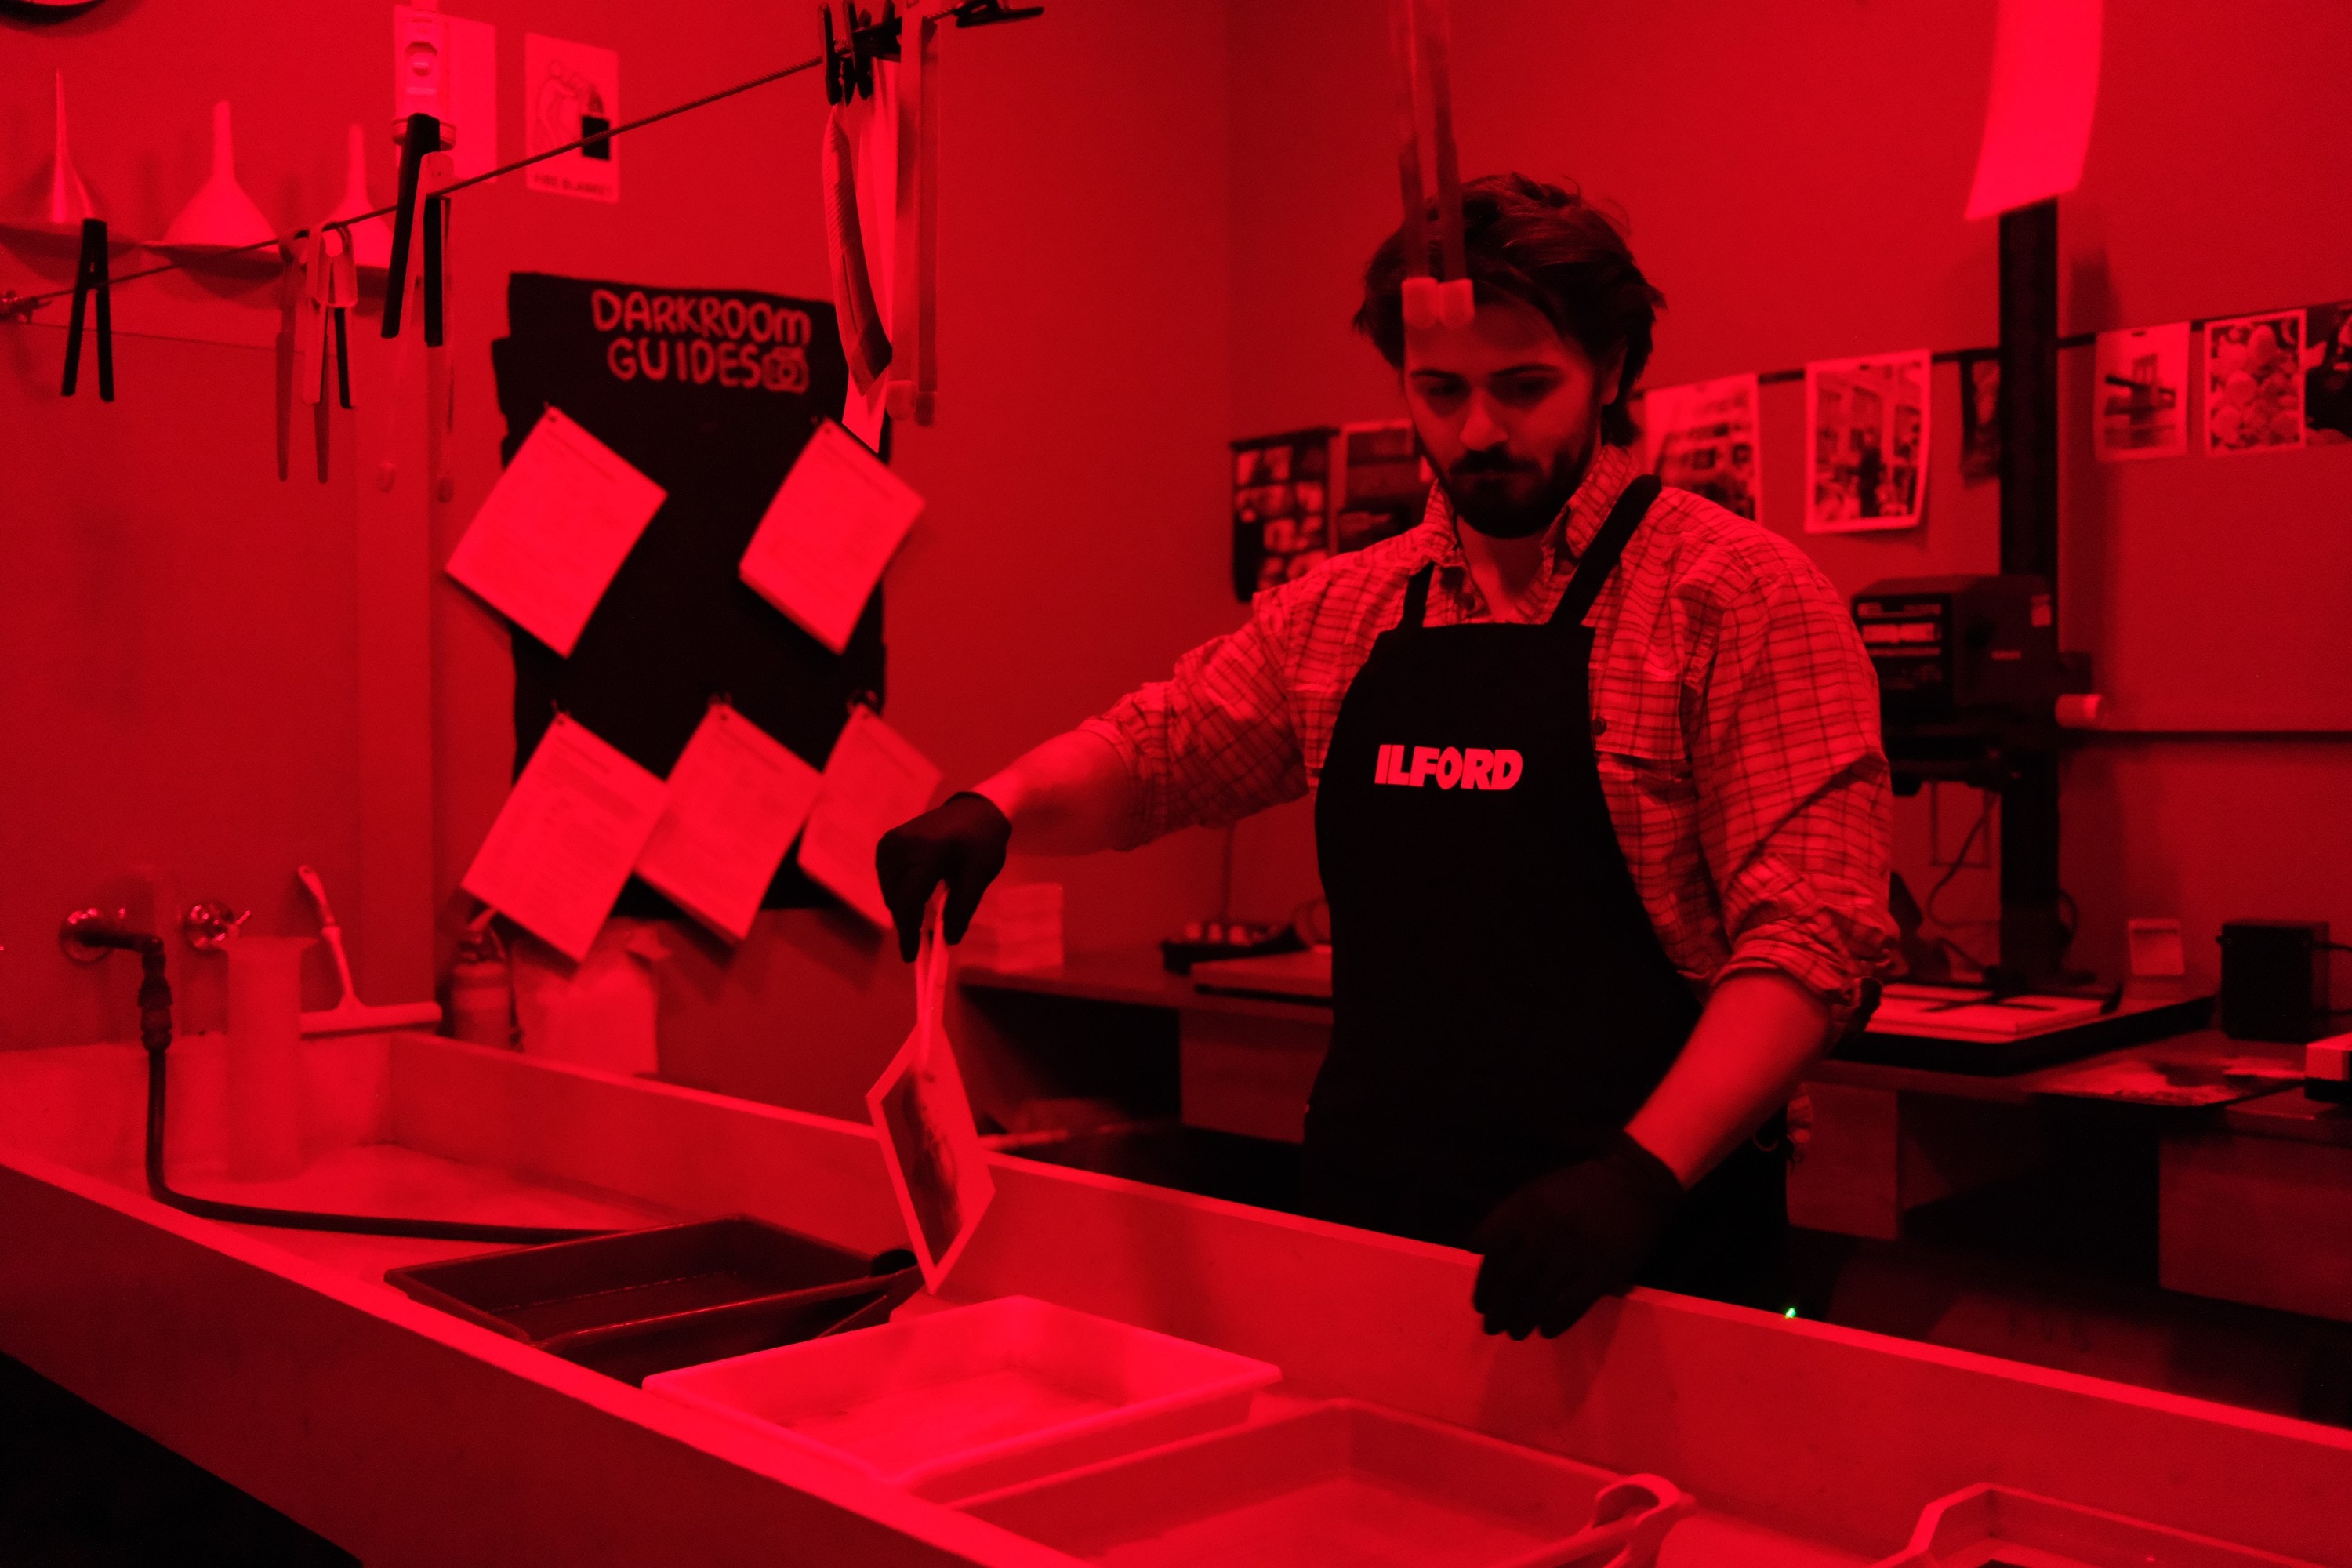
“Thanks for coming along,” he said, “and see you in the dark.”
From the shoot
Related

Why This Guy Thinks Film Photography Will Never Die
A case for slowness, grain and the wait.
The Collage Artist Who Nearly Died at 36
Ripped paper, cut letters and a second chance.
The Chair Designed to Collapse When You Sit On It
Furniture that reaches for something that doesn't exist yet.
What Happens Inside A Psychedelic Artist's Studio?
Clay, oils, Mr Cone Head and the battle between money and art.